Supplies Needed
PSp - I used X2 but will work in any version.
Tube of choice I used Suzanne Woolcott you can purchase her artwork Here
FTU Scrap kit by Beth Turner - Summer Refreshments -you will find it Here
Mask of choice I used mask WSL_80 Here
Font of Choice - TK Doodle
Lets Get Started!
1. Layers open / New Image 600 X 600 we can resize later.
2. Copy and Past Paper of choice then resize by 75%.
3. Copy / Past eyelet ribbon of choice then resize by 75%. Layers duplicate twice.
4. Close out background and Layer 1 then, Layers / Merge / Merge visible. Duplicate
Image / Mirror.
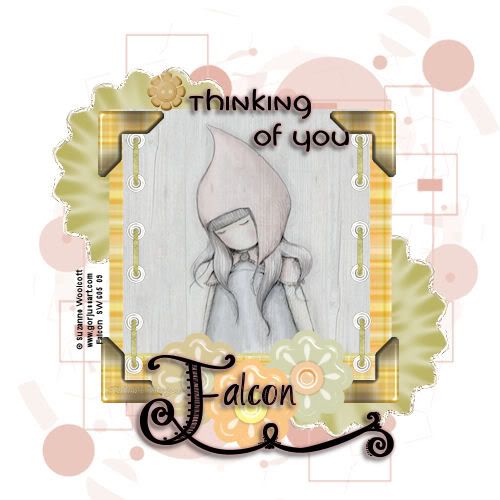
5. Select your tube, I used the one with the background. Copy / Paste and resize by 85%.
6. Move the eyelet ribbons to the grey background area of the tube, see above for placement.
7. Copy / Paste photo corner of choice resize by 95%. Duplicate / Image / Mirror.
Layers / Merge / merge Down. Duplicate / Image / Flip.
8. Copy / Paste Flower of choice see tag above for placement.Duplicate / Flip / Mirror.
9. Copy / Past button resize by 50% and place at top of frame.
10. Copy / Paste Glass Flowers / resize by 50% and arrange at bottom of frame.
1. Layers open / New Image 600 X 600 we can resize later.
2. Copy and Past Paper of choice then resize by 75%.
3. Copy / Past eyelet ribbon of choice then resize by 75%. Layers duplicate twice.
4. Close out background and Layer 1 then, Layers / Merge / Merge visible. Duplicate
Image / Mirror.
5. Select your tube, I used the one with the background. Copy / Paste and resize by 85%.
6. Move the eyelet ribbons to the grey background area of the tube, see above for placement.
7. Copy / Paste photo corner of choice resize by 95%. Duplicate / Image / Mirror.
Layers / Merge / merge Down. Duplicate / Image / Flip.
8. Copy / Paste Flower of choice see tag above for placement.Duplicate / Flip / Mirror.
9. Copy / Past button resize by 50% and place at top of frame.
10. Copy / Paste Glass Flowers / resize by 50% and arrange at bottom of frame.
11. Add a new layer aboe your background layer and Flood fill with #cc9092. Layers / New Mask /
From Image / select mask wsl_80. Layers / Merge / Merge Group. Image / Resize by 110%
duplicate / Mirror / Flip.
From Image / select mask wsl_80. Layers / Merge / Merge Group. Image / Resize by 110%
duplicate / Mirror / Flip.
12. Add your name / watermark and Artist ©. Resize and crop. Save and your done!
This tutorial was written by Maree aka Falcon on the 26th April 2009.
This tutorial was written by Maree aka Falcon on the 26th April 2009.
Any similarity to this tutorial is purely coincidental.
Please do not copy or claim as your own,
I would love to see
your results.
©Maree
your results.
©Maree
No comments:
Post a Comment